Table of Contents
What a point cloud is and why it matters
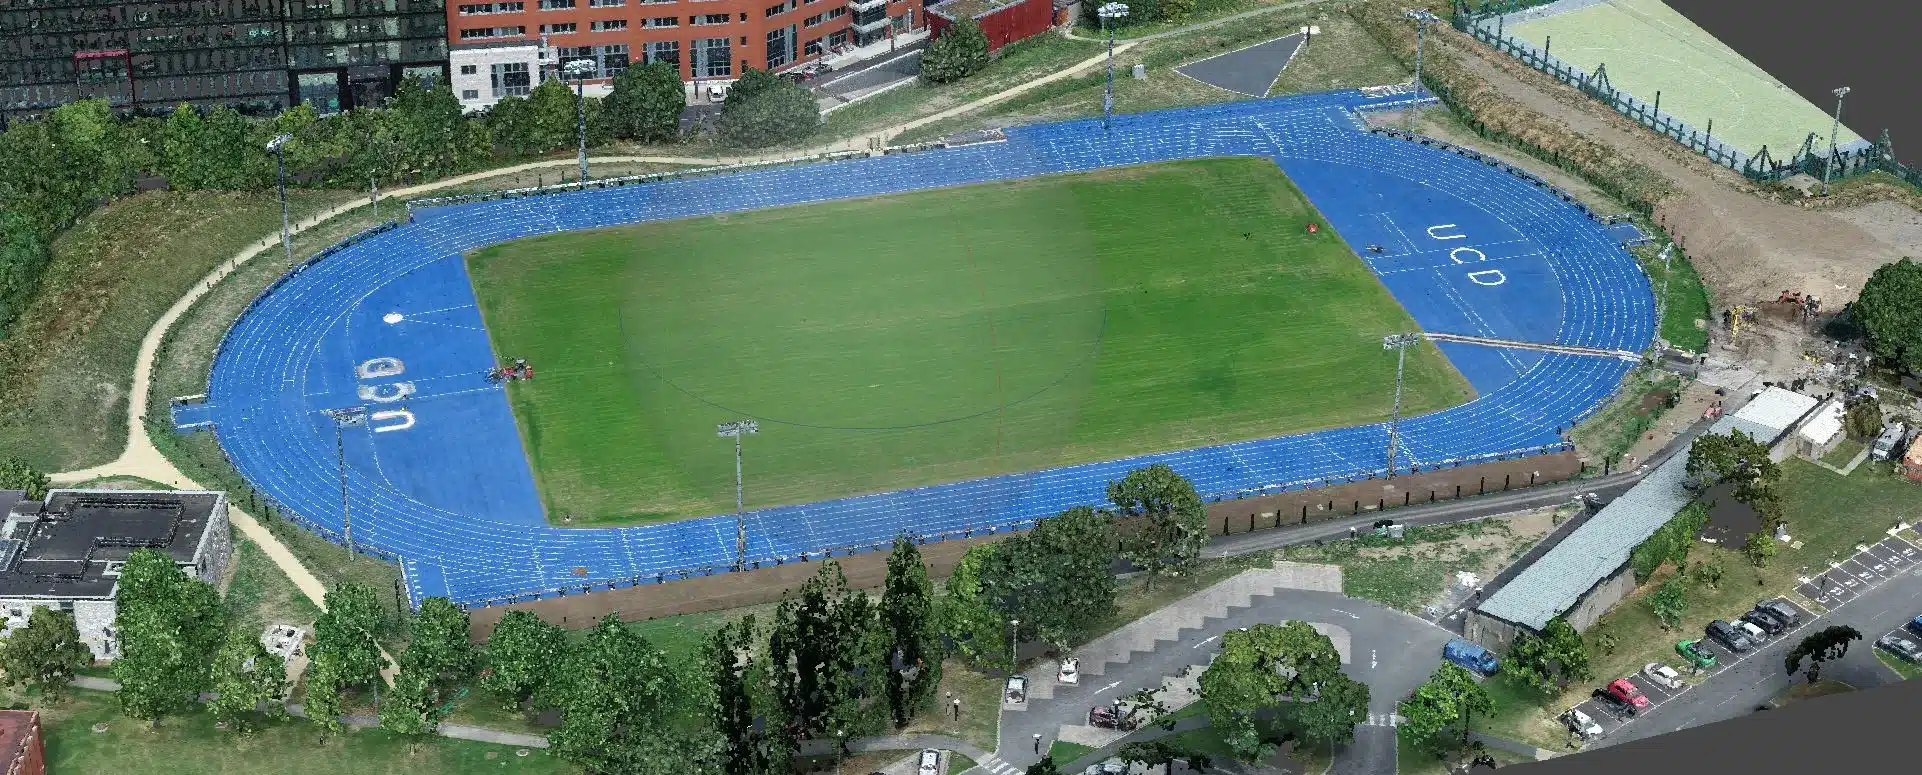
A point cloud is millions of individually measured 3D coordinates – each one a precise location on a surface captured during a drone survey. Whether from photogrammetry or LiDAR, the point cloud is the raw foundation. Everything else comes from it: surfaces, contours, cross-sections, volumes, 3D models.
For engineers working in Civil 3D, the point cloud is both a design reference and a data source for creating TIN surfaces, alignments, and profiles. Understanding how it flows from drone flight to usable deliverable helps you get more from the data and specify the right outputs.
Stage 1: Capture
Photogrammetric
Our survey-grade drones capture overlapping imagery at controlled altitude and speed. Typical parameters for engineering survey:
- Flight altitude: 50 to 80 m
- Image overlap: 75% frontal, 65% side
- GSD: 1.5 to 2.5 cm/pixel
- Positioning: RTK/PPK with GCP verification
LiDAR
The scanner records raw laser returns during flight:
- Pulse rate: 240,000 to 480,000 per second
- Multiple returns: up to 7 per pulse
- Scan angle: typically plus or minus 30 degrees
- Flight altitude: 50 to 100 m
Stage 2: Processing
Photogrammetric processing
The overlapping images go through Structure from Motion (SfM) processing:
- Software finds matching features across overlapping images (tie points)
- Calculates camera positions and orientations using bundle adjustment
- Brings in GCP coordinates to georeference and constrain the solution
- Generates a dense point cloud – 3D positions for every identifiable surface point
- Builds the orthomosaic from the oriented imagery
Result: a coloured (RGB) point cloud at 100 to 500 points per square metre.
LiDAR processing
Raw LiDAR data goes through:
- PPK corrections applied to the drone trajectory
- Trajectory, IMU, and laser range data combined to compute 3D coordinates for each return
- Strip adjustment to align overlapping flight lines
- Coordinate transformation to ITM
Stage 3: Classification
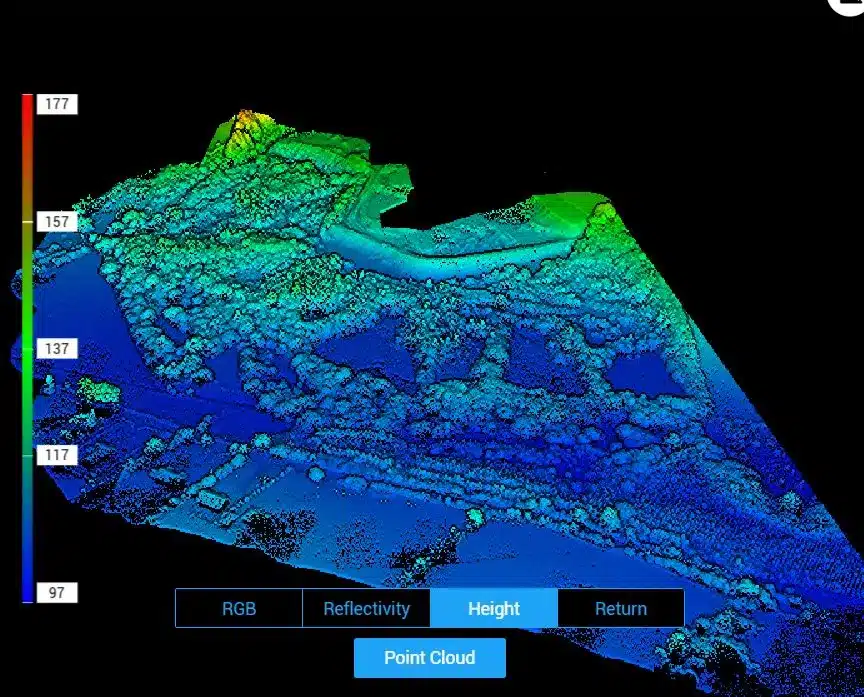
A raw point cloud has everything the sensor captured – ground, vegetation, buildings, vehicles, power lines, birds. For engineering use, you need each point tagged with what it’s on. Standard classes (ASPRS LAS spec):
- Class 2 – Ground: bare earth for DTM generation
- Class 3/4/5 – Vegetation: low, medium, high
- Class 6 – Buildings: roofs and structures
- Class 7 – Noise: erroneous points to discard
- Class 9 – Water
We use automated algorithms with manual quality checking. The classification quality directly affects the surfaces you build from it – sloppy ground classification means a sloppy DTM.
Stage 4: Getting it into Civil 3D
Import
Civil 3D reads point clouds via Autodesk ReCap (.RCP/.RCS files) or directly as .LAS (from Civil 3D 2021 onwards). For large datasets, we pre-process into project-ready tiles. Things to get right:
- Make sure the Civil 3D drawing is set to ITM before importing
- The point cloud attaches as an external reference, keeping the DWG file manageable
- Civil 3D can filter display by classification code – show only ground for surface creation, or only vegetation for clearance checks
Building surfaces
The most common Civil 3D output from drone data is a TIN surface:
- Filter the point cloud to ground-classified points
- Thin to appropriate density (Civil 3D bogs down with millions of points in one surface)
- Create TIN surface from the filtered dataset
- Add breaklines along features like road edges, ditch inverts, and embankment toes
- Generate contours at whatever intervals you need
We normally deliver this as a ready-made surface in .DWG, so you skip the processing steps. The source point cloud comes alongside for reference and additional analysis.
Sections and profiles
With a surface in Civil 3D, you can create alignments along any route and extract longitudinal and cross-sectional profiles straight from the drone data. That supports cut-and-fill work, road design, and drainage analysis without traditional chainage-based survey.
File sizes
Point clouds are big. A 10-hectare site at typical photogrammetric density produces roughly 2 to 5 GB. LiDAR is typically 30 to 50% smaller for the same area due to lower point density. We deliver in compressed .LAZ format (5 to 10 times smaller than .LAS) and can thin or tile to meet your data management needs.
Specifying what you need
If you need point cloud data for Civil 3D, be clear in your brief about coordinate system, classification requirements, format, and any file size constraints. Our guide on writing a drone survey specification covers this in detail.
For Trimble Business Center workflows, see our article on Civil 3D and TBC integration. To talk about your project, get in touch.
Coordinate systems and why they matter more than people think
The single biggest source of pain we see on point cloud handovers is coordinate system confusion. Autodesk Civil 3D is perfectly happy to open a point cloud in any projected coordinate system, but it will not warn you if the drawing and the cloud are in different systems. The cloud will simply sit 300 km from your design surface and the project team will spend an afternoon trying to figure out why.
In Ireland, the defaults that should be baked into every project template are:
- Horizontal datum: Irish Transverse Mercator (ITM), EPSG:2157.
- Vertical datum: Ordnance Datum Malin (ODM), also referred to as Malin Head.
- Linear units: metres.
If any of these three are wrong, the point cloud will not line up with Ordnance Survey Ireland mapping, with OPW flood models, with Irish Water GIS data, or with any other consultant’s drawings. We deliver every point cloud by default in ITM / ODM metres, and we include a tiny text file alongside the LAS/LAZ stating the CRS and a transformation note in case the client’s workflow is still on Irish Grid (EPSG:29902) and needs a conversion.
QA/QC: what to check when the point cloud lands on your desk
Before any point cloud is imported into a design workflow, we recommend the receiving engineer runs through a short five-point check. This takes fifteen minutes and catches the vast majority of issues that otherwise only surface weeks later during detailed design.
1. Open the cloud in a viewer that shows absolute coordinates
Free tools like CloudCompare, Potree, or Autodesk ReCap all display absolute XYZ at the cursor. Hover over a known survey station or a recognisable hard feature and confirm the coordinates match the site records to within the stated accuracy.
2. Check intensity and point density
Intensity should look evenly distributed across the site. Streaks or banding suggest a flight path issue. Point density should meet the specification – typically 200 to 500 points per square metre for photogrammetry and 100 to 300 for LiDAR on a standard mapping mission. A density heatmap in CloudCompare takes thirty seconds to generate.
3. Verify the ground classification
For any cloud that will be used for surface generation, the ground class (class 2 in the LAS standard) should be present, and the bare-earth surface it generates should look physically plausible. Obvious errors show up as holes, fins, or unnaturally flat patches. We include our own QA report showing the classification result, but a second pair of eyes in the design office never hurts.
4. Reproject a check point
If we supplied check point coordinates, pick one from the list and measure the offset between the check point and the cloud at that location. A well-controlled cloud will agree with the check point to within the stated accuracy budget (typically ±2 to 3 cm in Z for both photogrammetry and LiDAR).
5. Sanity check the tin
Once the ground points are imported into a Civil 3D TIN surface, rotate it in 3D and look for spikes, spurious triangles, and long thin slivers near the site boundary. These are almost always edge-of-cloud artefacts and are quickly fixed with a tighter boundary polygon.
Common pitfalls and how to avoid them
Over five years of handing point clouds to design teams across Ireland and the UK, we have seen the same handful of avoidable mistakes again and again.
Importing the unclassified cloud and building a surface from all points. This gives you a surface on top of every parked van, every stacked pallet, every tree. Always import the classified ground points only.
Ignoring the density recommendation. Civil 3D slows to a crawl on point clouds above a certain density. For a 20 hectare site, thin the cloud to 50–100 points per square metre before surface generation, then keep the full-density original for visualisation.
Using the photogrammetric cloud under vegetation and wondering why the levels are wrong. Photogrammetry sees the top of the grass or bracken, not the soil. For any vegetation-affected area, switch to LiDAR or add a physical ground survey.
Forgetting that point clouds age. A six-month-old cloud of an active site is not the current state of the site. Plan for repeat flights during construction rather than assuming the original baseline is still valid.
Frequently Asked Questions
What file formats do you deliver point cloud data in?
LAS and LAZ (the compressed LAS format) as standard, with classification attributes preserved. On request we also provide E57 for older workflows, RCP/RCS for direct drag-and-drop into Autodesk products, and a thinned copy in XYZ or PTS for lightweight viewers. Everything is referenced to ITM / ODM by default.
How big is a typical point cloud file?
For a 20 hectare photogrammetric survey at 4 cm ground sample distance, expect 3 to 5 GB uncompressed and 1 to 2 GB as LAZ. For an equivalent LiDAR survey with full returns, expect 5 to 10 GB uncompressed and 2 to 4 GB as LAZ. We provide a secure download link; we do not email files.
Can you deliver the cloud in Irish Grid instead of ITM?
Yes, but we prefer not to. Irish Grid (EPSG:29902) has been officially superseded by ITM since 2001 and new OSi mapping is all ITM. If you absolutely need Irish Grid we will provide both, but we recommend moving the project to ITM at the earliest opportunity.
How long is the point cloud valid for?
For a stable site (finished infrastructure, heritage building, completed bridge) a point cloud is valid for many years. For an active construction site it is valid until the next material earthworks movement – typically weeks, not months. For a repeat monitoring programme we fly monthly or on an agreed schedule.
Do you provide the raw drone imagery as well as the processed cloud?
On request, yes. We archive raw imagery for twelve months as standard. If you need the raw files for an independent re-processing or for archive, they are available as a separate deliverable. Most clients do not take raw imagery because it is enormous (typically 100+ GB per site) and offers little practical value once the processed deliverables have been QA’d.